Snow Skills [in the mist]
Day 4 - Wednesday, July 12
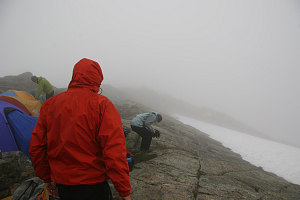
Day 4 - Socked in!
Most of the night passed uneventfully, and more importantly, dryly... but as dawn approached, a light but steady sprinkle started. The pitter-patter of it was amplified by the walls of the tent. It had become somewhat gusty, too. Unfortunately, our tent was 90-degrees sideways to the wind. This meant that the slab of tent on my side would alternately billow in, and then out. So far, though, we were dry. Perhaps the rain would pass us by in the night?
Not to be, unfortunately. We arose to discover that we were inside a layer of cloud. No view in any direction. It misted and drizzled on and off as we had our breakfast, dressed in all of our wet gear. Not the most fun of conditions in which to learn.
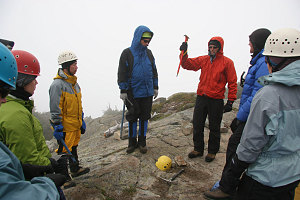
Start of Snowskills training
Still, learning is why we were here, and so Chris started us off with the basics of the ice ax, pointing out the various parts of it, variations between axes, what you could and couldn't do with it, etc. From there, we headed over to a snow slope just a few metres away from our tents, Where Chris took us through the basics of walking on a snow slope: making steps, planting the ice ax, keeping in balance and self-belay.
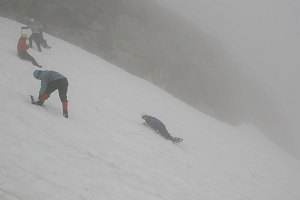
Self-arrest training
Next was self-arrest - the technique used to stop a slide on snow. This we did for a while, practicing it from various start positions (on your back, on your stomach, head uphill, head downhill, etc). You never now how you'll find yourself sliding down a snow slope, so it is important to try it every which way.
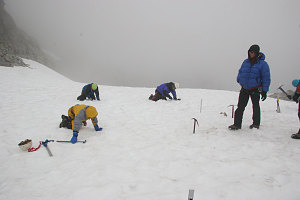
Snow anchor training
Kirk spent much of his time here scribbling notes down onto a waterproof notepad that he had, recording the curriculum that was being covered. I think sitting and writing and not moving much was causing Kirk to cool off quite a bit in the rainy and damp conditions, and he took to vigorously swinging his arms whenever he could.
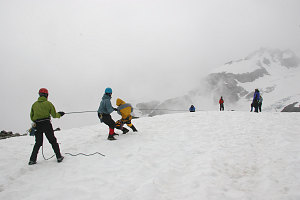
The strength of a snow anchor
Next, on to anchors. Snow anchors, specifically. We covered "T-slot" anchors (I've heard others call them deadman anchors). This is where one buries an object in the snow in a horizontal fashion, along with an angled slot for attachment to the rope. Chris was very thorough, covered all aspects of proper placement in the snow, angles, and depth. We then set up sample anchor systems, attached them to the rope, and then had two or three of us haul on the end of the rope. Properly set, the anchors did not budge an inch. A good confidence-building demonstration in the strength of proper snow anchors. We then covered various types of belays, from simple sitting-hip belays all the way up to a full fixed-anchor belay.
It was by now time for lunch. The rain was falling with more force, and so we all retreated to our tents to eat, and to relax for a bit. Chris suggested that we wait for a while, take a nap perhaps, and wait to see if the rain would ease up a bit. This it did do, but only after a couple of hours of waiting in the tents.
But stop eventually it did, so out we went again for the second half of the day. We trudged up to a higher and steeper snow slope above camp and set out to practice pitched snow-climbing. Using the various skills and techniques we'd learned over the past few days, we ascended the snow slope using fixed belays and snow protection (in this case, aluminum stakes called 'snow pickets'). This is a much slower process than just simultaneously climbing a snow slope - even more so with slow beginners like ourselves. We could see that a choice to use pitched, fixed belay climbing would have to be made with an eye to time-vs-difficulty, because to always use this type of climbing would probably mean any summit day would take forever!
It took us a long time to finish off this pitched climbing bit. It was now nearing 4-5pm, our usual time for ending for the day. There was still more to cover - our forced 2+ hour rain break at lunch meant we were behind schedule. Chris asked us if we wanted some more instruction, or if we wanted to call it quits for the day. I myself wanted to get as much instruction in, so I raised my hand in favour of continuing on for a bit. More or less everyone else agreed, too.
We headed over to the top of an even steeper snow slope and learned a bit about snow bollards. A snow bollard is a teardrop-shaped trench in the snow that can be used as an anchor. It is especially useful when you want to rappel down a slope and not leave any gear behind. We practiced setting up a few snow bollards, then segued into rappelling on snow, with the bollards providing the snow anchor for the rappel. I went down first, rappelling down the steepest part of the snow slope, then disengaging from the rope and kicking steps down the rest of the way from there. I went first so that I could head over a little ways a way from the rappel slope and get pictures of everyone else coming down.
One by one, everyone else made their way down. Jenn and Pu slipped on the steep snow below the rappel. Jenn managed to self-arrest, but Pu, not quite managing to self-arrest, went for a fun little ride down to the flat area of snow some distance below.
Nearing the end of his rope
Catherine and Peter's turn
The Master makes it look easy!
When we had all wrapped up our snow rappels, we headed down and around to our campsite. The rain had started again, and we were all thoroughly wet from the combination of rain and playing around in the snow. Supper was a dismal affair. I huddled in a small hollow in the rock below our tent, trying to find a less windy spot for our cooking stove.
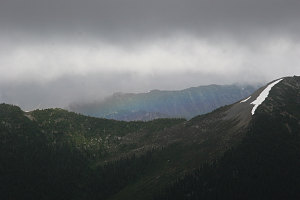
High-angle rainbow
Fortunately, the inside of our tent was still relatively dry. We carefully packed all of the really soaked stuff into the vestibule and carefully got into bed for a long 8pm-to-7am sleep. The wind was gustier than the previous night, and the side of the tent was overwhelming the poor guy-lines that I had set up. Additionally, a poorly designed air-vent in the top of the tent was in danger of being reversed by the wind into a rain-funnel. If that happened while we were sleeping, the rain would pour in on us and get everything super-wet. Had to keep an eye on that!
Interactive Trackmap - Snow Skills Day - Click map to Expand
Snow Skills Day - Hike Data
Start Time:
2:19p.m.
End Time:
5:54p.m.
Duration:
3h34m
Distance:
0.95 km
(0.59 mi)
Average Speed:
0.3 km/hr
(0.2 mph)
Start Elevation:
6561ft
(2000m)
*
Max Elevation:
6824ft
(2080m)
*
Min Elevation:
6491ft
(1979m)
*
End Elevation:
6564ft
(2001m)
*
* : +/- 75 feet
Total Elevation Gain:
292ft
(89m)
*
Total Elevation Loss:
305ft
(93m)
*
* : +/- 75 feet
Elevation Graph